Introduction
Hosted notebooks allow RC users to use server hosted jupyter notebooks. Hosted notebooks come pre-installed with necessary packages and sample projects
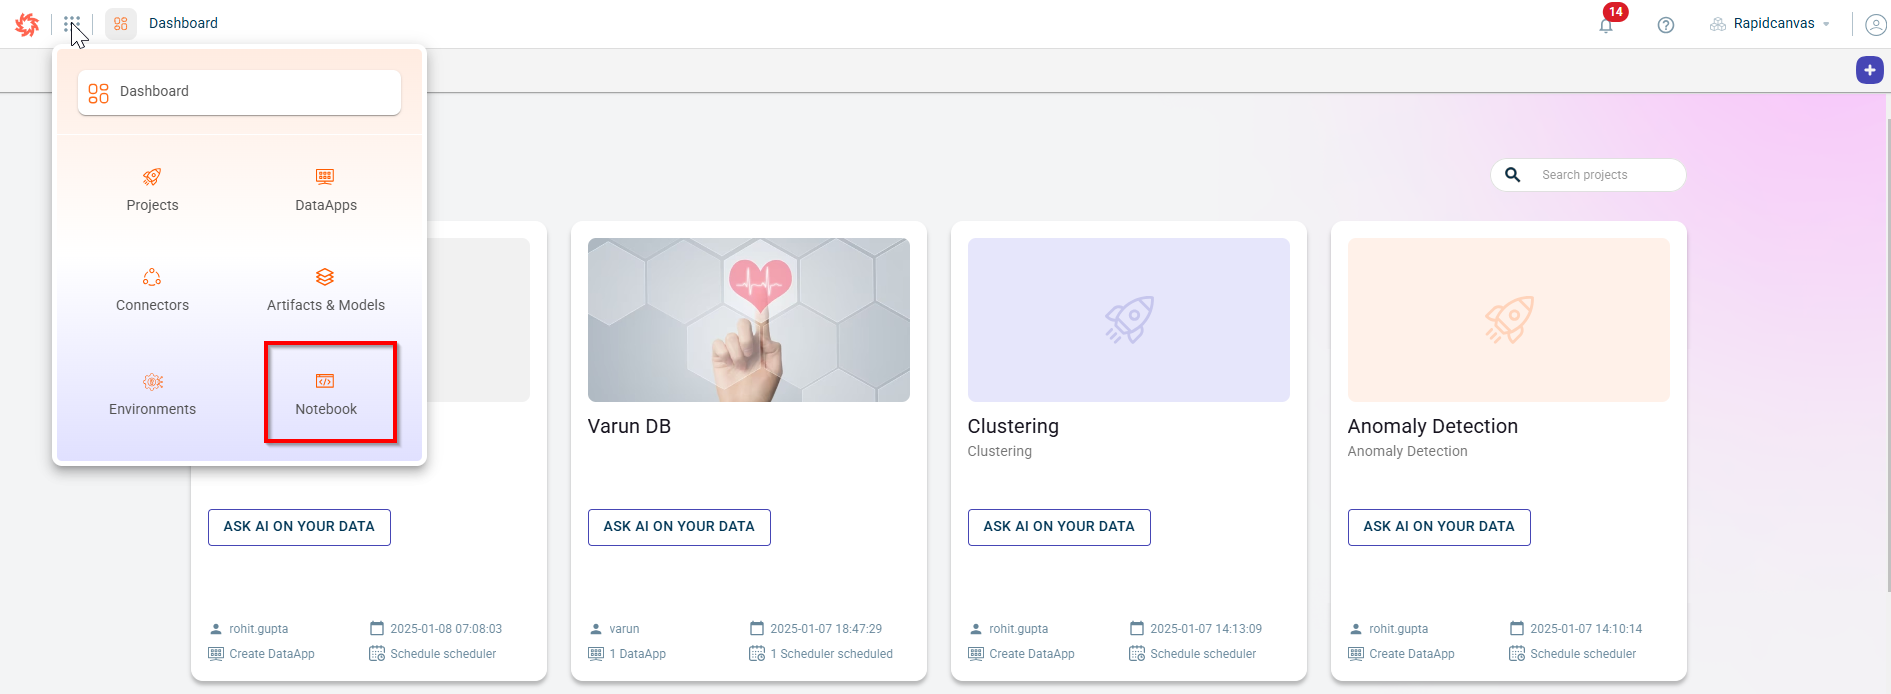
Launch
Hosted notebooks can be launched directly from RC UI through the “Launch Notebook” button
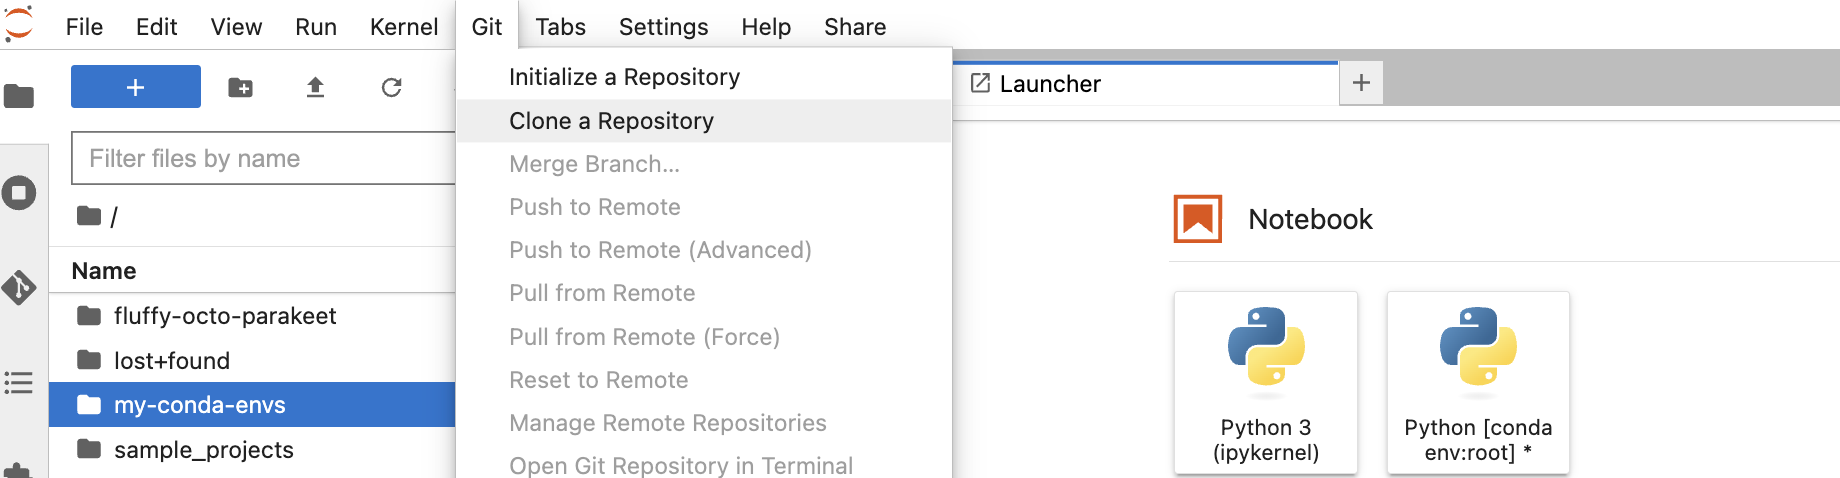
Connect to git
With hosted notebooks, you have the ability to connect to your remote github repository. You can colloborate with your team by handling all change management through git.
Here is how you can connect to your repository
Clone your repo
Repo url from Github
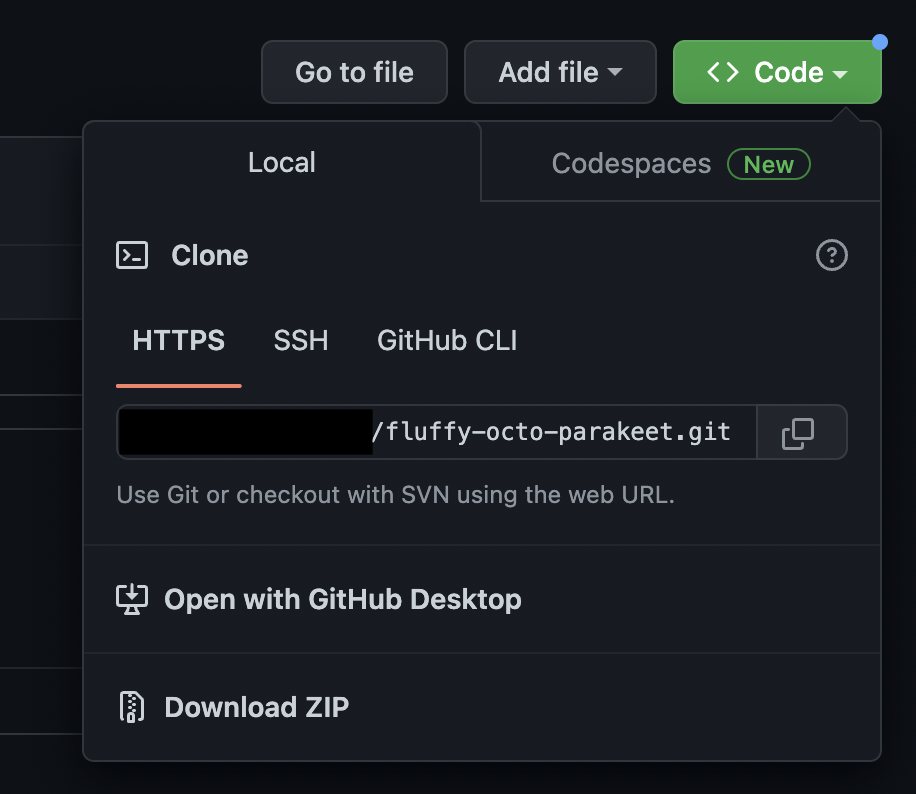
Enter Repo URL
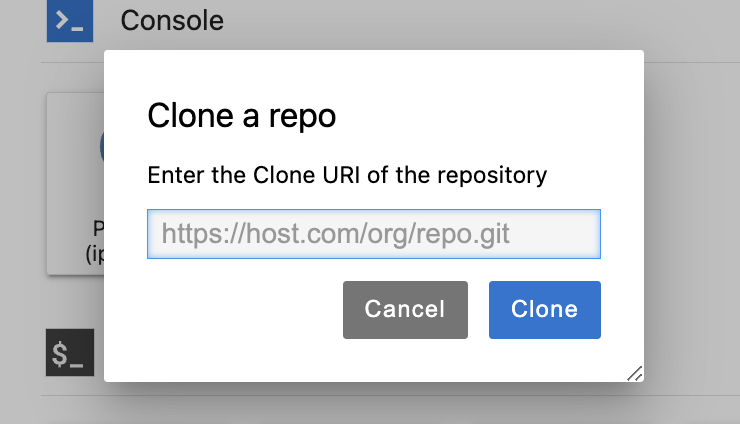
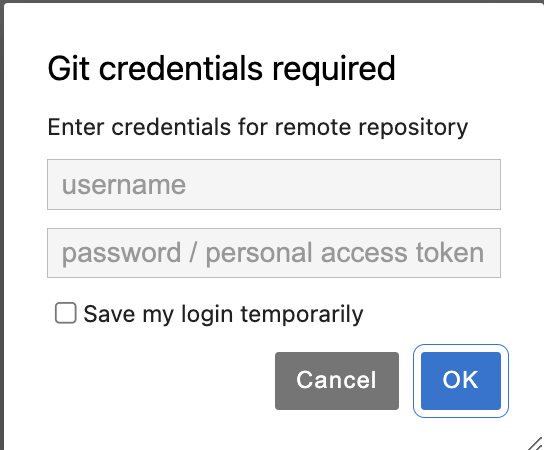
Enter Git Credentials
Git does not support passwords anymore. You will need to use access tokens generated from Git.
Generate Access token
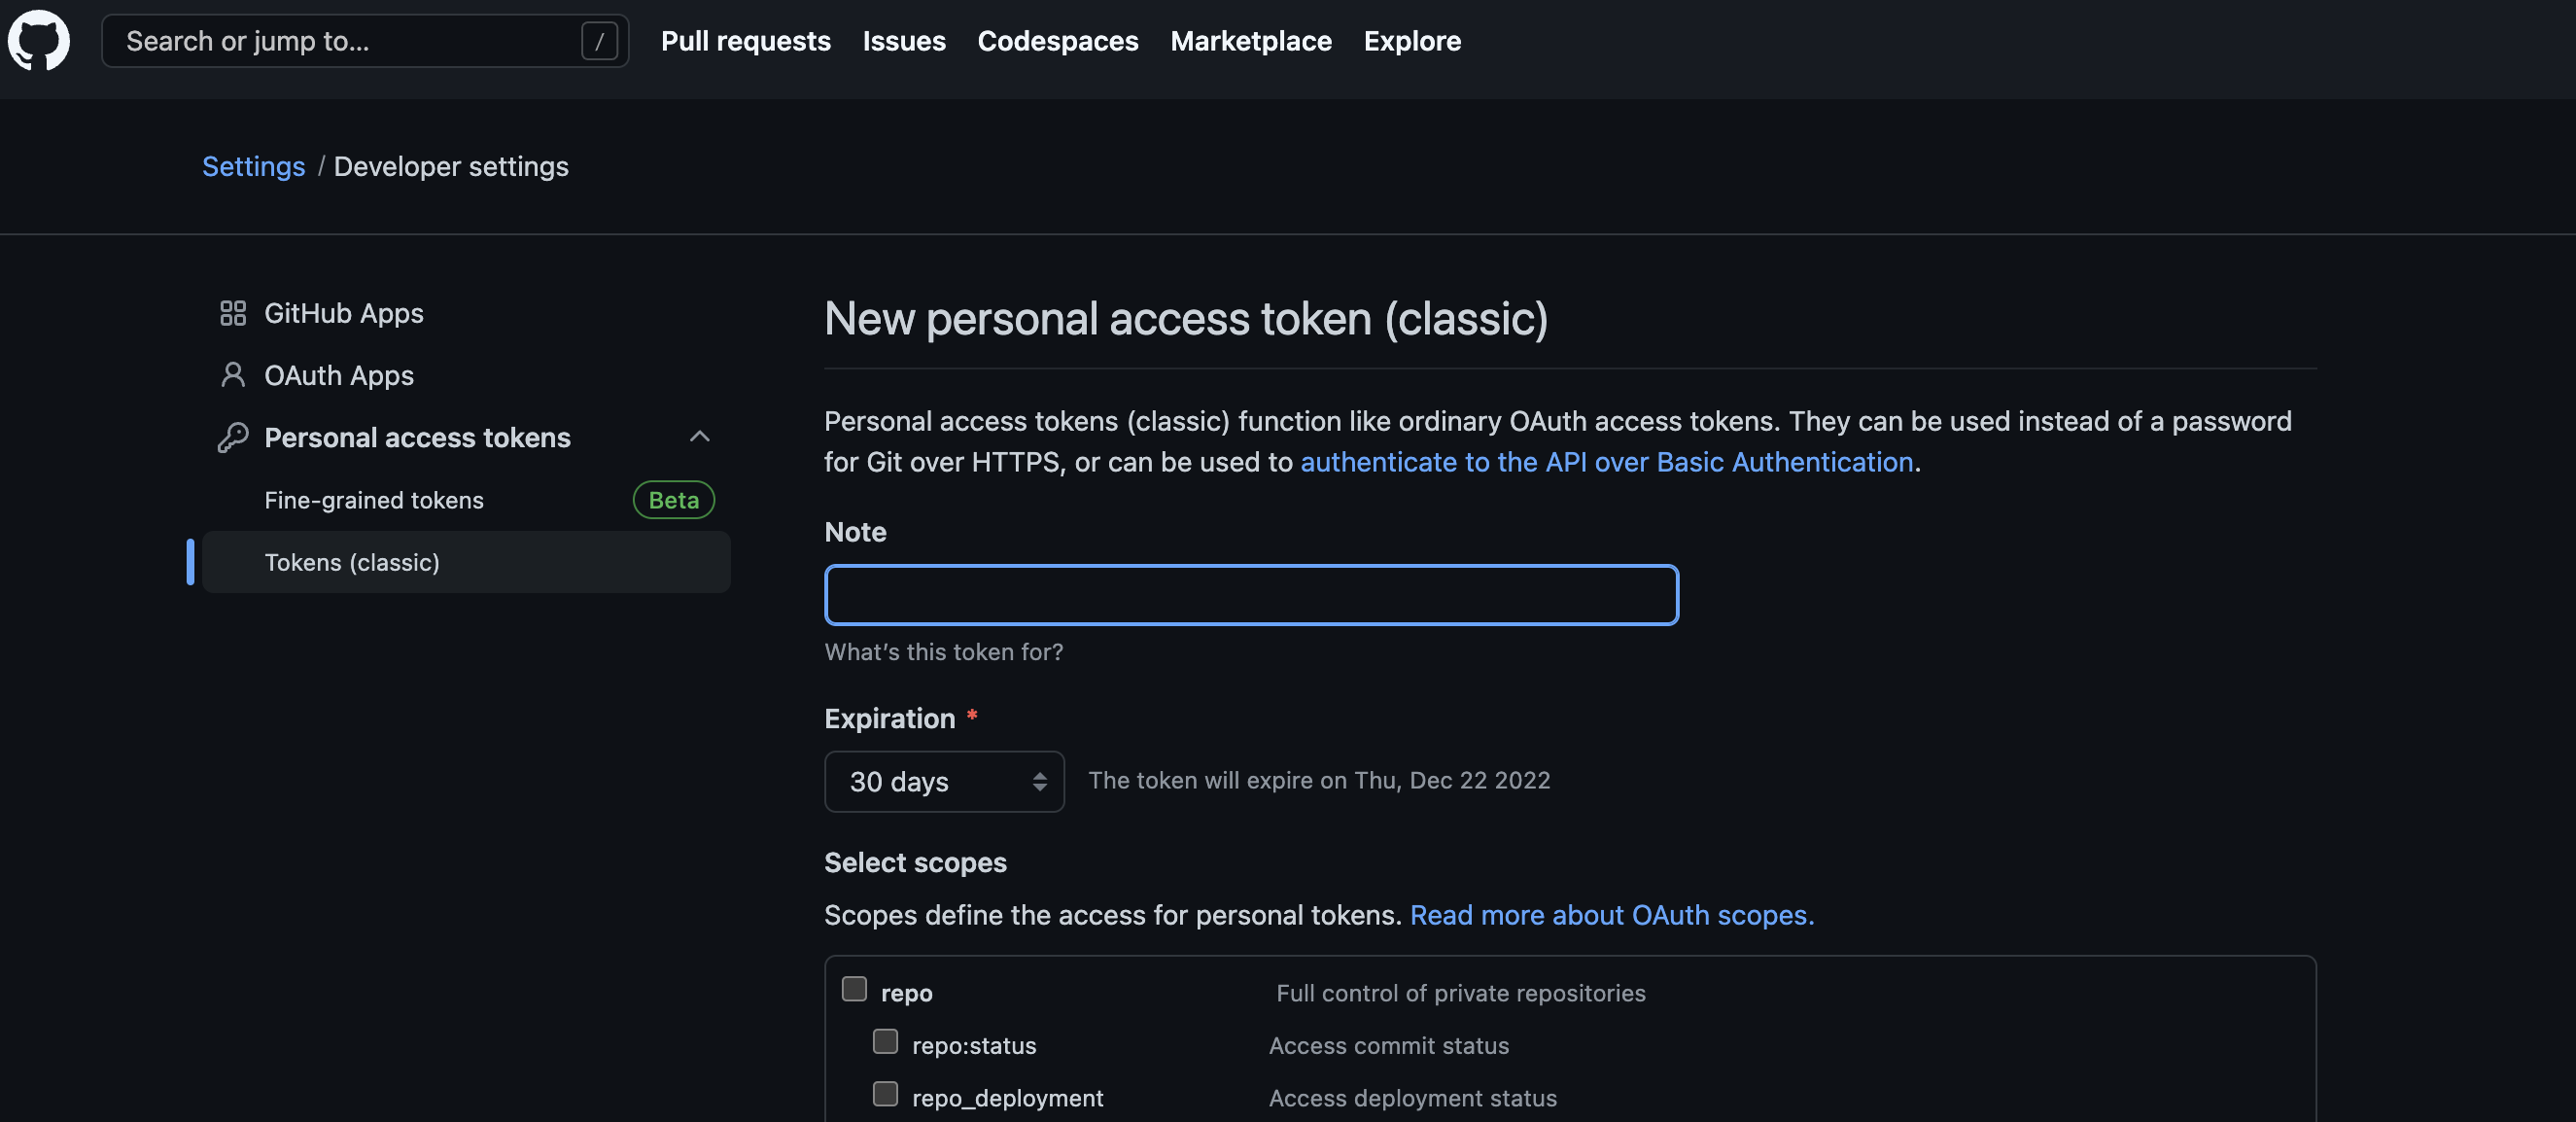
More detailed instructions on how to connect to Git can be found in this guide
Virtual Environment
With hosted notebook, you have the ability to create virtual environments with custom packages installed
Create new virtual environment
On the hosted notebook, open a new terminal and execute the following. You can replace myenv with the name of the environment you want to create
conda create -n myenv
To install custom packages, you can do the following.
conda create -n myenv packagename1 packagename2
Once a virtual environment is created, it will be accessible under your kernels list and will persist even when the server restarts.
Additional details on managing your custom environment can be found in this cheatsheet