Scheduler overview
Schedulers are tasks that automate the execution of project flows at a specified frequency, such as daily, weekly, or recurring intervals using a cron schedule expression. You can schedule project flows for specific scenarios within a project to run at the defined time. If a project does not include scenarios, the default scenario can be selected to execute the flow.
Schedulers also provide the flexibility to configure parameters for storing newly generated models and output datasets after each execution. When a scheduler is triggered, the project flow runs and produces the latest output dataset, which is stored on the platform by default. Furthermore, you can configure an external data source to save both input and output datasets generated during each run by specifying it during scheduler creation.
Creating a scheduler
Use this procedure to create a scheduler for a scenario within a project.
From the left navigation menu, select Projects. The Projects dashboard is displayed.
Select the project for which you want to create a scheduler. You can create schedulers for different scenarios in a project.
The Canvas page is displayed.
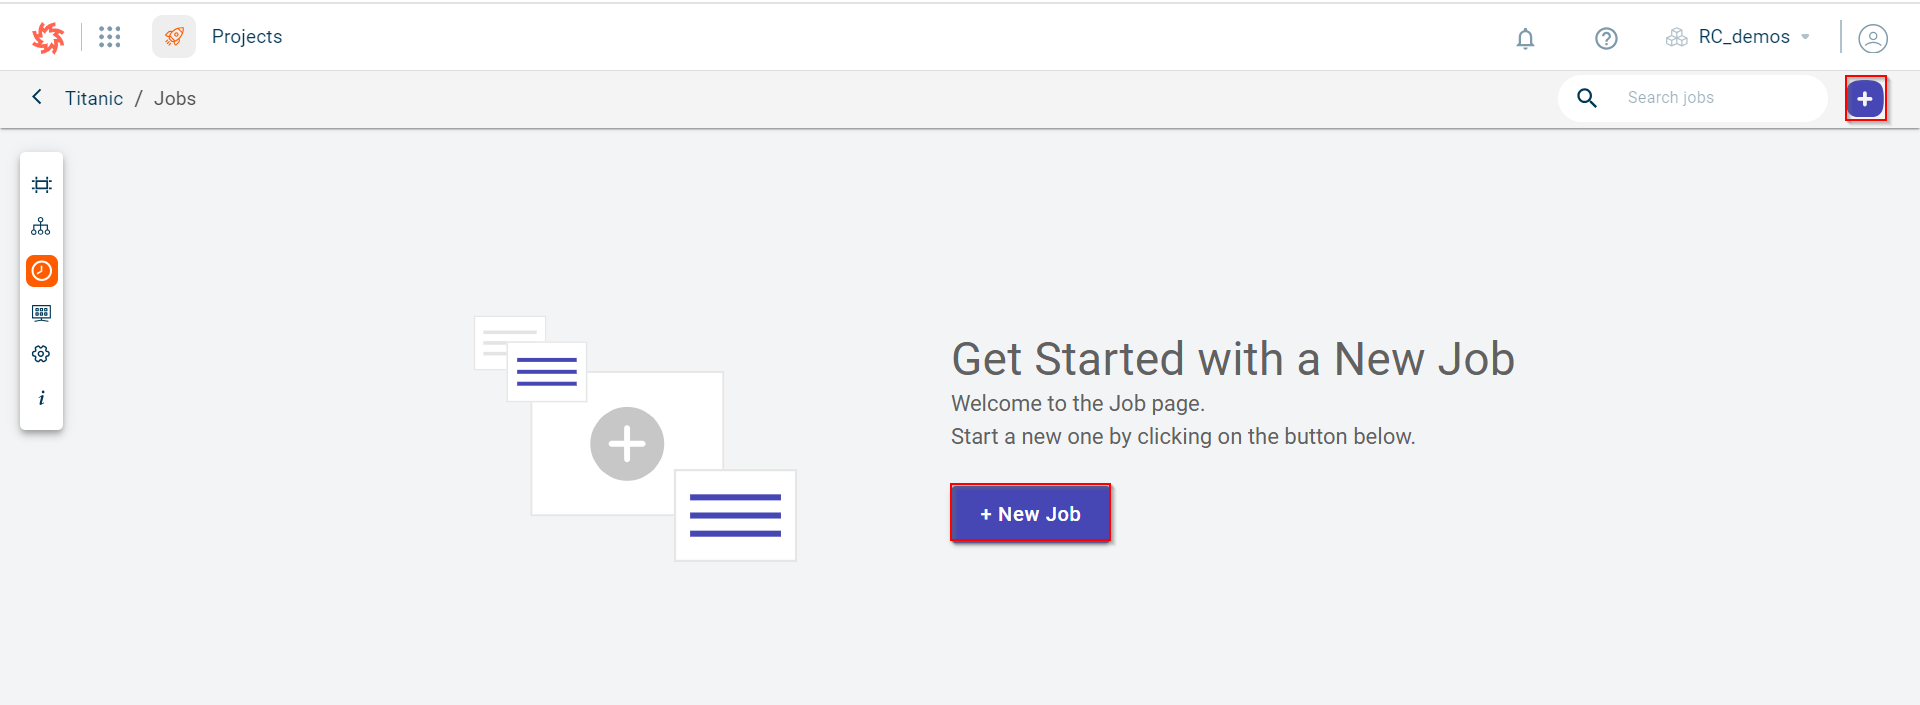
Click the Scheduler tab on the project navigation menu on the left to open the Scheduler page.
Do one of the following:
Click the plus icon
on the top right-corner of the page.
Click the +New Scheduler option to create a scheduler. However, you can only view this option when there are no schedulers created in this project.
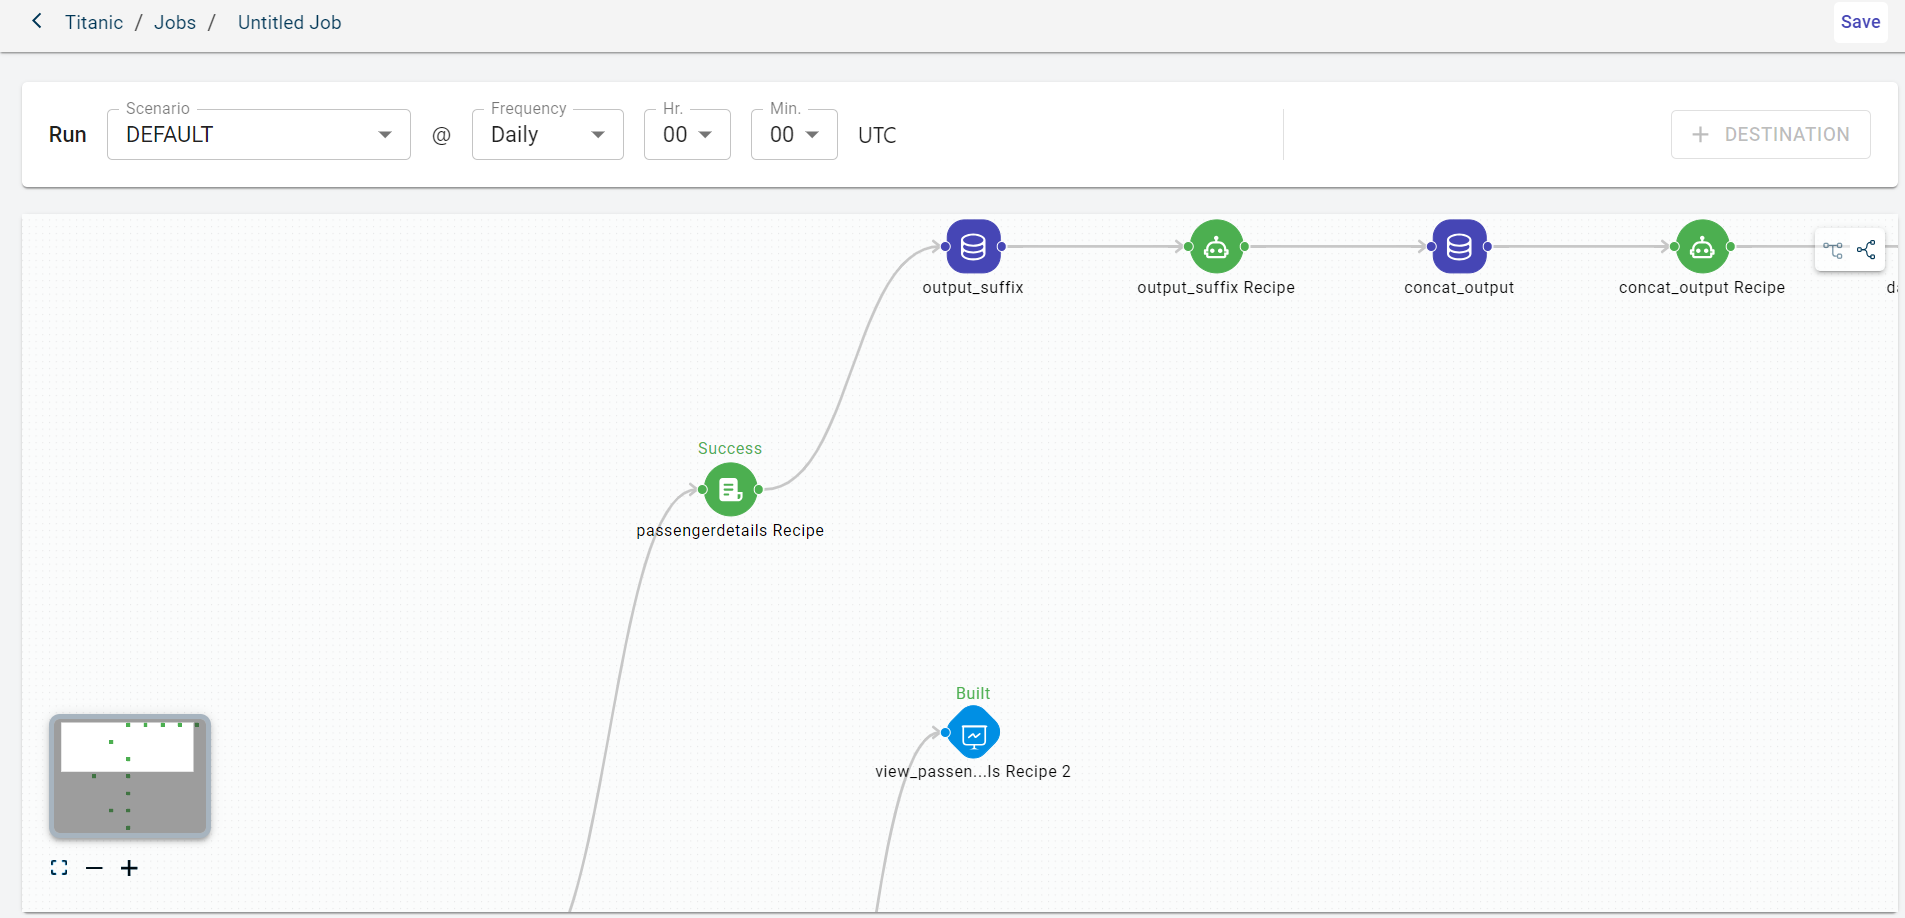
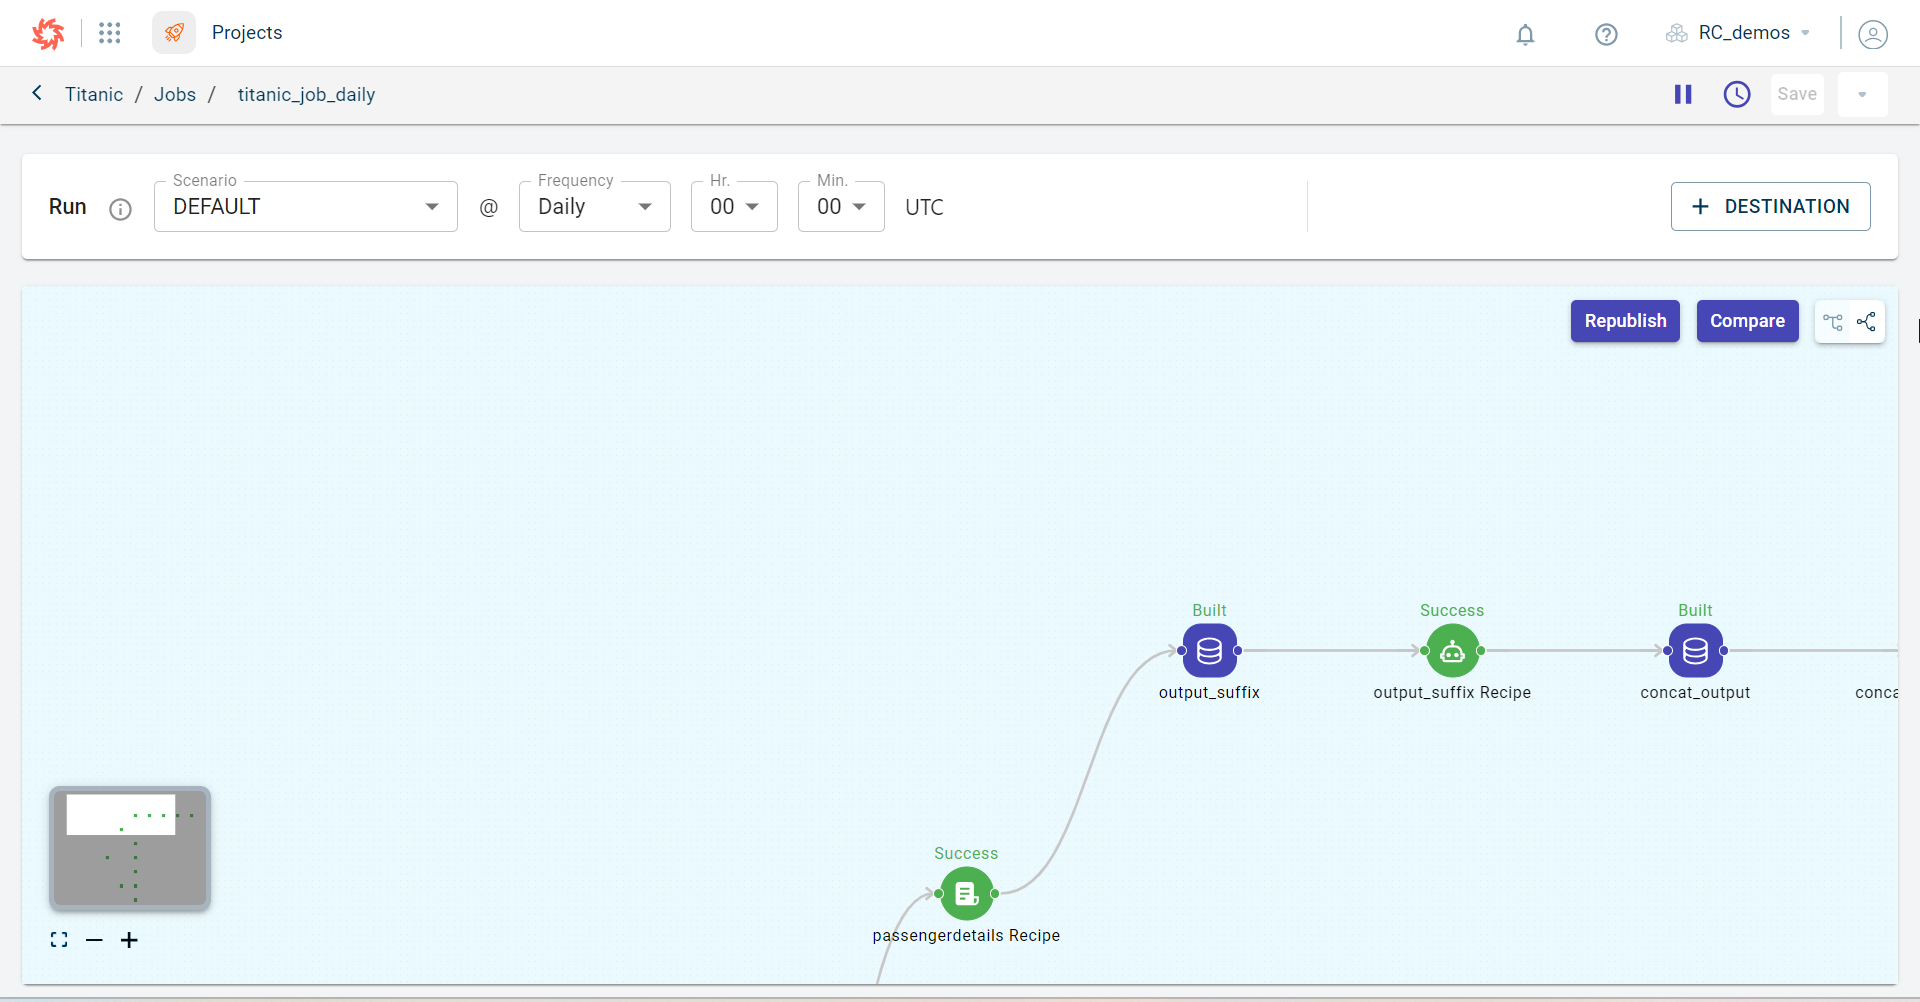
The following page is displayed where you can create a scheduler to run this data pipeline at the set time interval.
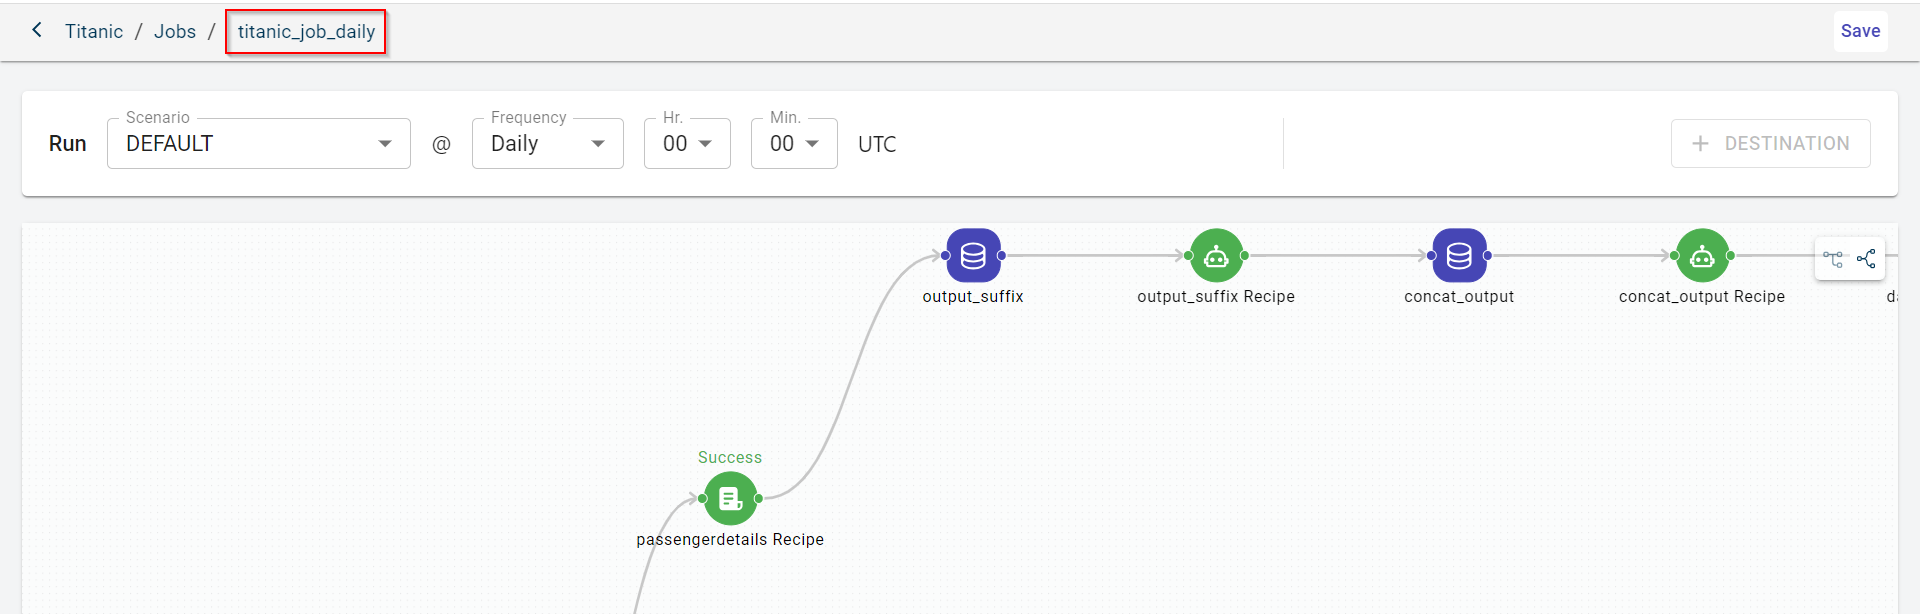
Click the default scheduler name to provide a custom name on the top.
Select the scenario on which you want to run the project flow at the scheduled frequency.
Select the scheduler frequency. Possible values:
Daily - This displays Hrs and Min. drop-down to select the time at which the job should be triggered.
Weekly - This displays days in a week and time at which the scheduler should be run.
Cron - This displays the unix-corn format to create a scheduler.
View the project canvas.
Click Save to create the scheduler. This also enables the +Destination option to configure the data connector to which you can publish the generated output datasets or the input dataset.
You can see the project variables button only if the variables are defined at the project level. After creating the scheduler, you can change the value in project variables.
Click + Destination. This opens the Destinations side panel.
Note
This button is enabled only if you have configured external datasources in your tenant.
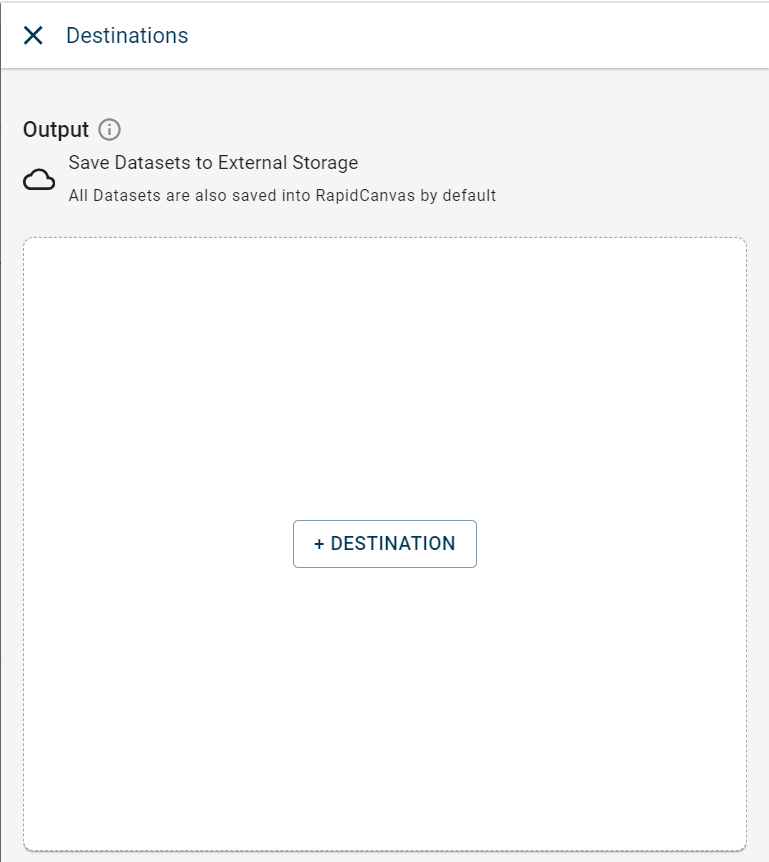
Click + DESTINATION.
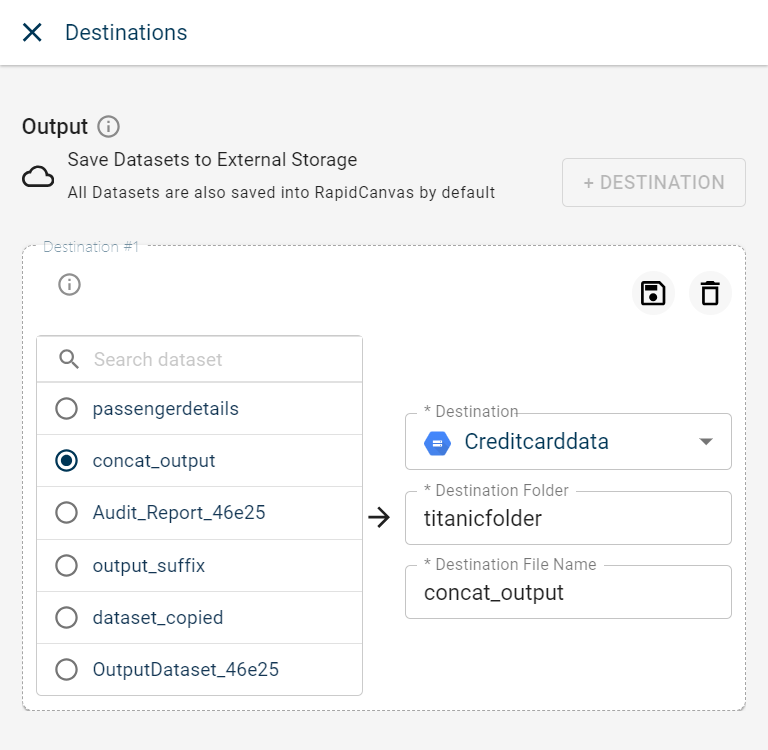
Select the dataset that you want to add to the destination. If the dataset list is huge, you can use the search option to search for the dataset you want.
Select the destination from the drop-down list. You can only view the list of external datasources configured under this tenant excluding Snowflake and Fivetran connectors.
When you select the SQL connector to synchronize or copy the output dataset generated after running the project, the table name column is displayed. Here, you can provide the table name and select either “Append” or “Replace”. Opting for the “Append” option will append the dataset to the existing one, provided both datasets share the same schema. Alternatively, selecting the “Replace” option will replace the existing dataset with the new one.
If you choose the data connector as MongoDB, you can provide the database name and collection. In the event that the provided collection name already exists, the new dataset will be appended to the existing collection.
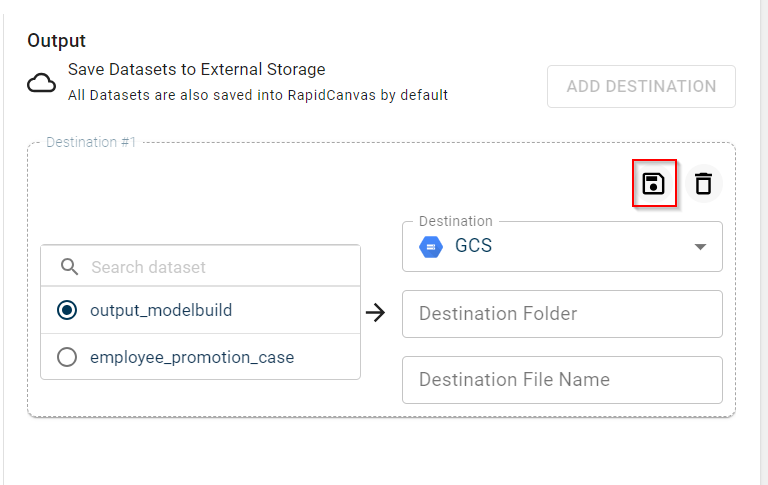
Provide the destination folder and destination file name to save the file in the destination folder with the new file name after the job is run every time at the scheduled time.
Select the To create new file for every run check box to create a new file after every job run. The new file will be saved with the RUN ID. Clearing this check box overrides the existing file.
Click Save to save this destination. This button is enabled only after you select all the required destination fields.
Note
You can store files in multiple destinations. To add another destination, click + DESTINATION. If you want to remove any destination, click the delete icon.
If you no longer want to save the output to the configured destination, you can use the delete icon to delete the destination.
Close the window after configuring the destination for the job.
Click GLOBAL VARIABLES to change the configured parameters for this job.
Note: The GLOBAL VARIABLES button is enabled only when the global variables are declared at the project level. To configure global variables, refer configuring global variables at a project level.
Change the value for the key. Please note that you cannot change the key.
Running the scheduler manually
Use this procedure to run and re-run the scheduler manually. However, the run is performed automatically on the recurring schedule.
To run a specific scheduler:
Select the project to run the job.
Click the Scheduler tab to open the list of jobs created in this project. You can only see the jobs list page if the jobs are created for this project.
Select the schedule name link that you want to run manually. This takes you to this specific Schedulers page

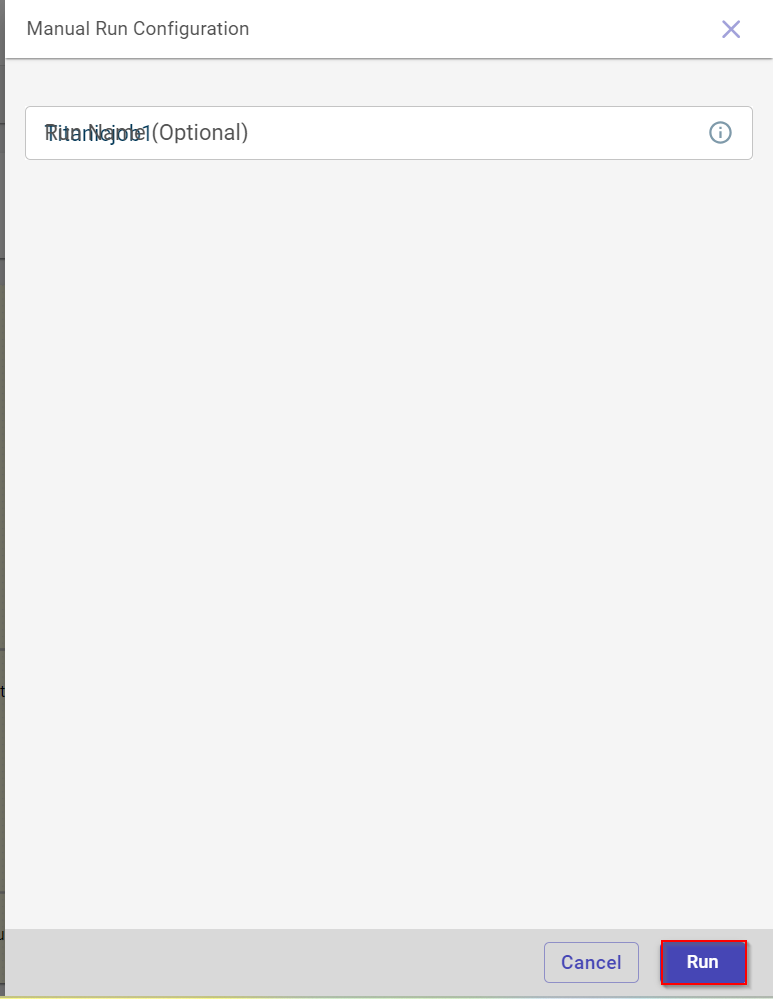
Click Run to run the job manually. This opens the Manual Run Configuration side panel.
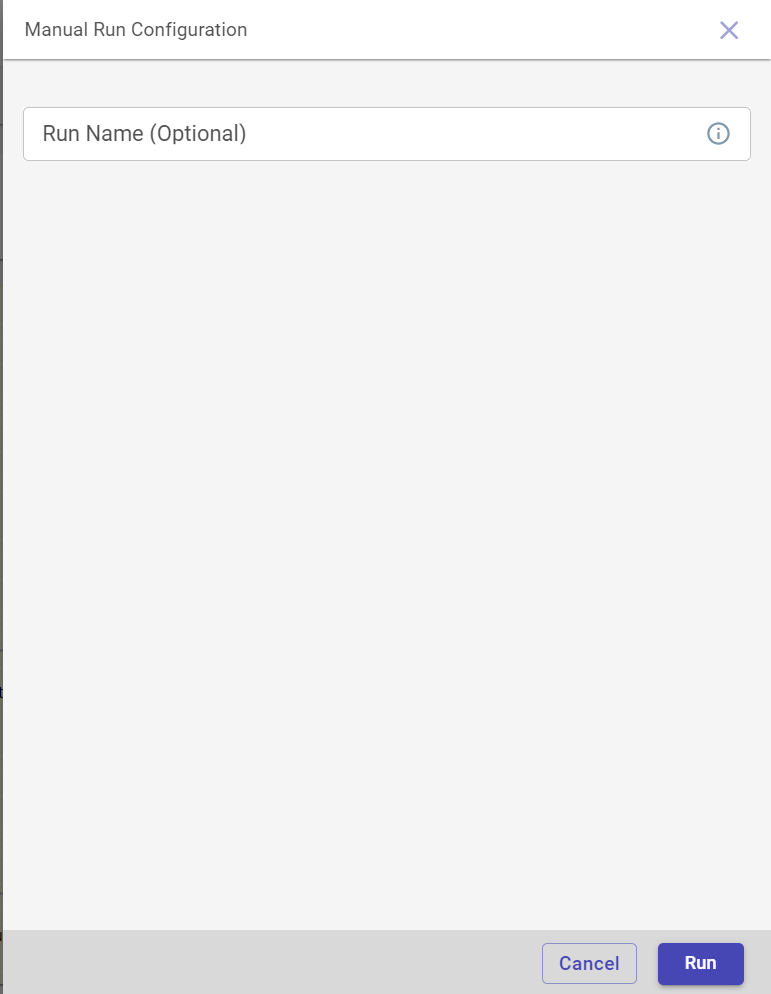
Provide the run name and click RUN.
When the job run is in progress, the status changes from Created changes to Entity Loading and then to Running. Once the job is run successfully, you can view the output in the Job Run History page.
Click the ellipses icon that appears in the Run Name column on the Job History page and select RE-RUN to re-run the job.
Managing schedulers in a project
Use this procedure to manage all the jobs scheduled in a project.
Hover over the menu icon and select Projects. The Projects dashboard is displayed.
Select the project for which you can to schedule or create a job. You can create jobs for different scenarios in a project.
Click the Scheduler tab on the left navigation menu of the project to open the schedulers page and view the list of schedulers you have already created.
Note
If there are multiple schedulers, you can use the search option to find the scheduler you want.
You can also create a new scheduler, using the plus option. To create a job, see Creating a Scheduler.
Click on the Job name that you want to edit. This redirects you to the Jobs page where you can edit the job details.
Modify the required details.
Click Save to view the new changes.
On this Jobs page, you can also:
Run this job manually, clicking the Run button.
View the run history, using the Run history icon
 . This allows you to view the history of all jobs run till date and up to 300 records of last 30 days.
Pause the job that is running, using the Pause icon
 . You can click the same icon to start the paused job.
Click the Action drop-down to select the Delete option to delete this job permanently.
Click the Timeout 1hr option to change the time out duration of the job. You can view this option when you click the Actions drop-down. By default, the time out duration is set to 1 hr. Setting this will terminate the job after this duration.
Viewing the schedulers in a project
Use this procedure to view all the jobs in a project and see the output generated after every job run.
Hover over the menu icon and select Projects. The Projects dashboard is displayed.
Select the project for which you can to schedule or create a job. You can create jobs for different scenarios in a project.
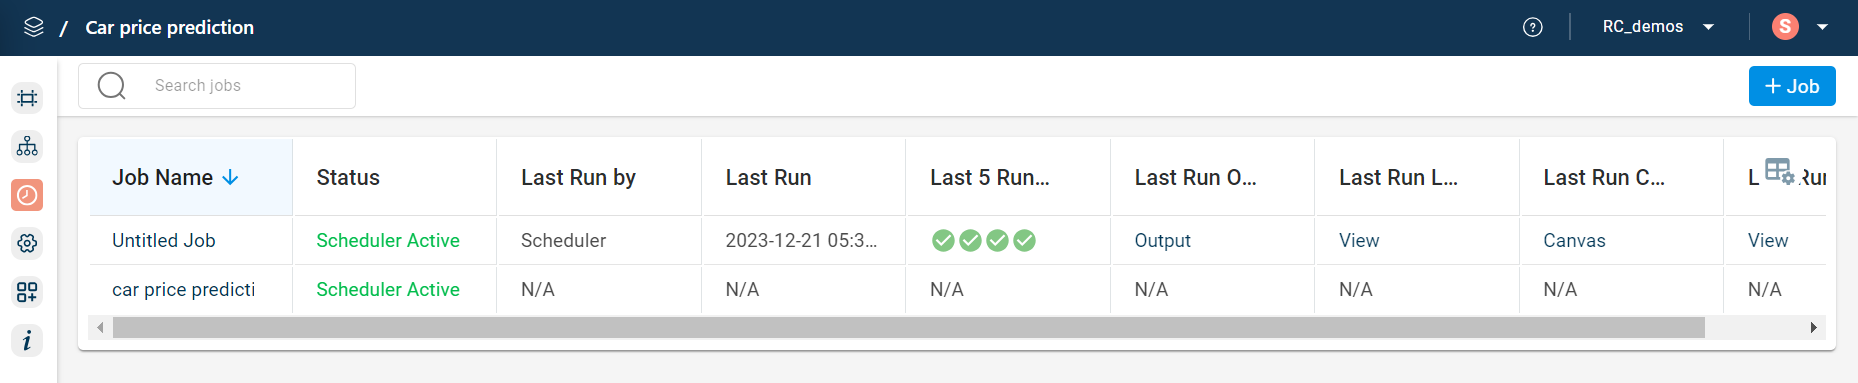
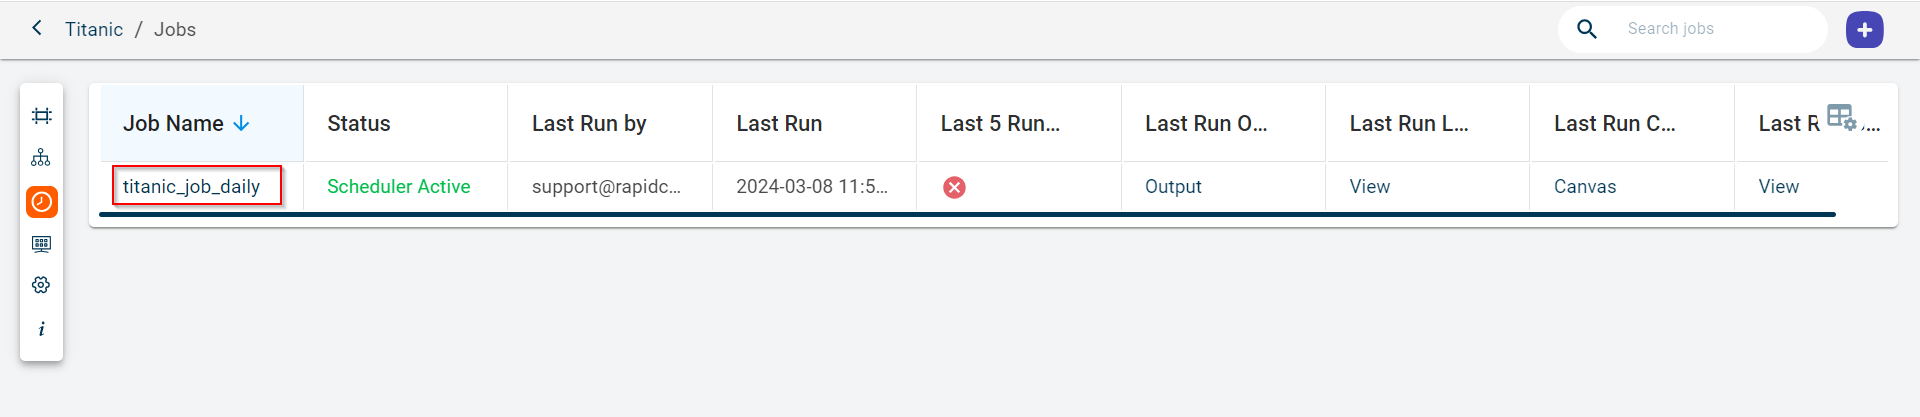
Click the Scheduler tab on the left navigation menu of the project to open the jobs page and view the list of jobs you have already created.

Review this information:
- Job Name:
The name of the job.
- Status:
The status of this scheduler. Possible values:
Scheduler Active - By default is set to Active.
Scheduler Inactive - Indicates that the manual run has been paused.
- Last run by:
Indicates whether the business user or scheduler has run the scheduler last.
- Last Run:
The date and time at which the scheduler was run lastly.
- Last 5 Runs:
Indicates the last five scheduler run status. Possible values:
Failed - The scheduler has failed to run.
Success - The scheduler has been run successfully.
Created - The scheduler has been created.
- Last Run Output:
Click to view the output generated after running the scheduler. You can only view the output after the scheduler is run and until then this option remains disabled.
- Last Run Log:
Click to view the logs. You can check the logs to understand the errors in jobs that have failed to run.
- Last Run Canvas:
Click to view the canvas page. You can only view the page to see the failed blocks and successful blocks in the data pipeline.
- Last Run Project Variables:
Click to view the last run project variables in this job.
- Updated on:
The date and time when the job was last updated.
- Updated by:
The user who last modified the job details.
You can click on the table settings icon to reorder the columns and select and deselect the columns you want to view.
Viewing the run history of a specific scheduler
Use this procedure to view the run history of a particular scheduler in the project.
Select the project and click scheduler to view the list of schedulers created within this project.
Do one of the following to access the scheduler run history page
Click the scheduler name under Scheduler Name column in the table to navigate to the respective Scheduler page and click the Run History icon.

Click the ellipses icon in the Job Name column and select the RUN HISTORY option to view the list of completed scheduler runs for the selected scheduler.
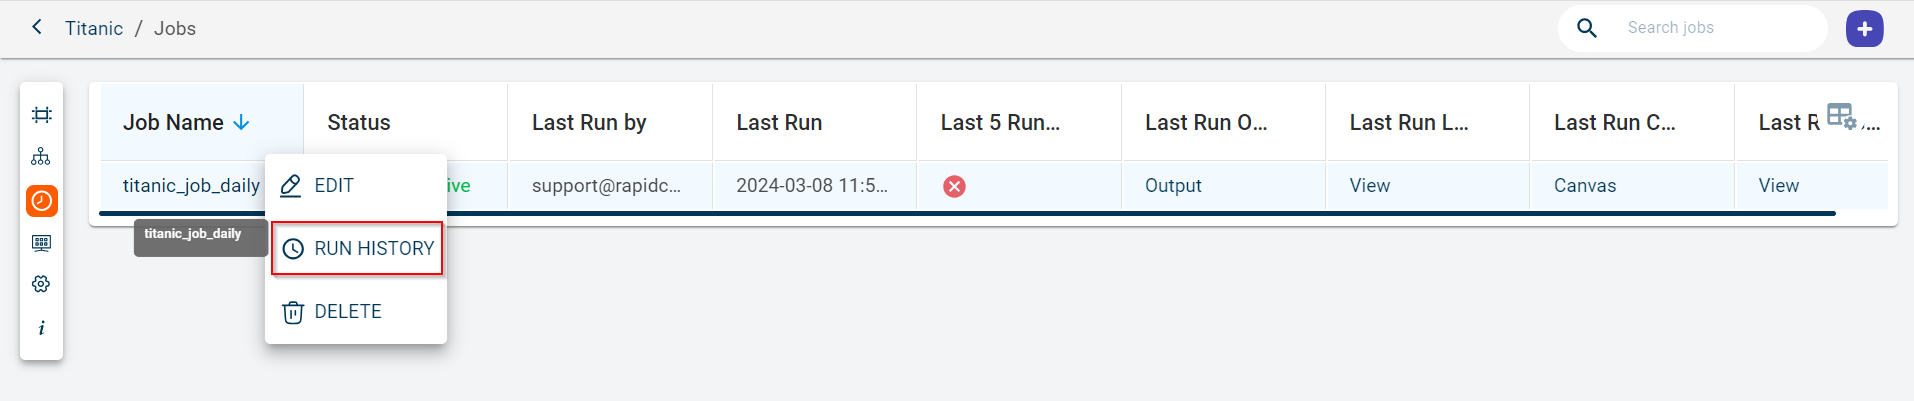
The Run History page appears.

Review the following details displayed for every job run:
- Run Name:
The name of the scheduler run.
- Triggered by:
The user or scheduler that triggered it.
- Started at:
The time at which the scheduler or user has started to run.
- Runtime:
The duration of the run.
- Status:
The status of the scheduler after the run. Possible status:
Success - Indicates that the job run is successful.
Started - Indicates that the job run is in progress.
Failed - Indicates that the job has failed to run.
Timed out - Indicates the job has been timed out.
Recipe Timed out - Indicates that the recipe within the job has been timed out.
Created - Indicates the job has been created.
Recipe Running - Indicates that the recipe within the flow has started to run.
Entity loading - Indicates that the data is loaded for entities with external data source
- Output:
The output generated after running the scheduler automatically or manually. Click to view and download the input dataset on which the model was created and generated output datasets. You can also view the generated artifacts and models but cannot download them.
- Log:
The log of this particular scheduler. Click to view the logs to debug the issues in the job run.
- Canvas:
The canvas generated after running the job. Click to view the canvas on which the run job was performed.
- Project variables:
The variables used in this job run. Click to view the variables linked to this scheduler.
Publishing the updated data pipeline to selected jobs from canvas
Use this procedure to republish the data pipeline to schedulers. When you update the dataset, delete a recipe or add a new recipe to the data pipeline, you can republish the new flow to scheduler using the republish option on the canvas. This updates the canvas on the selected schedulers.
To publish the changes made in the data pipeline to all or specific scheduler(s) in a project:
Select the project to navigate to the canvas view page.
Click the Actions drop-down and select Publish to Schedulers on the canvas. This displays Republish canvas to schedulers dialog.
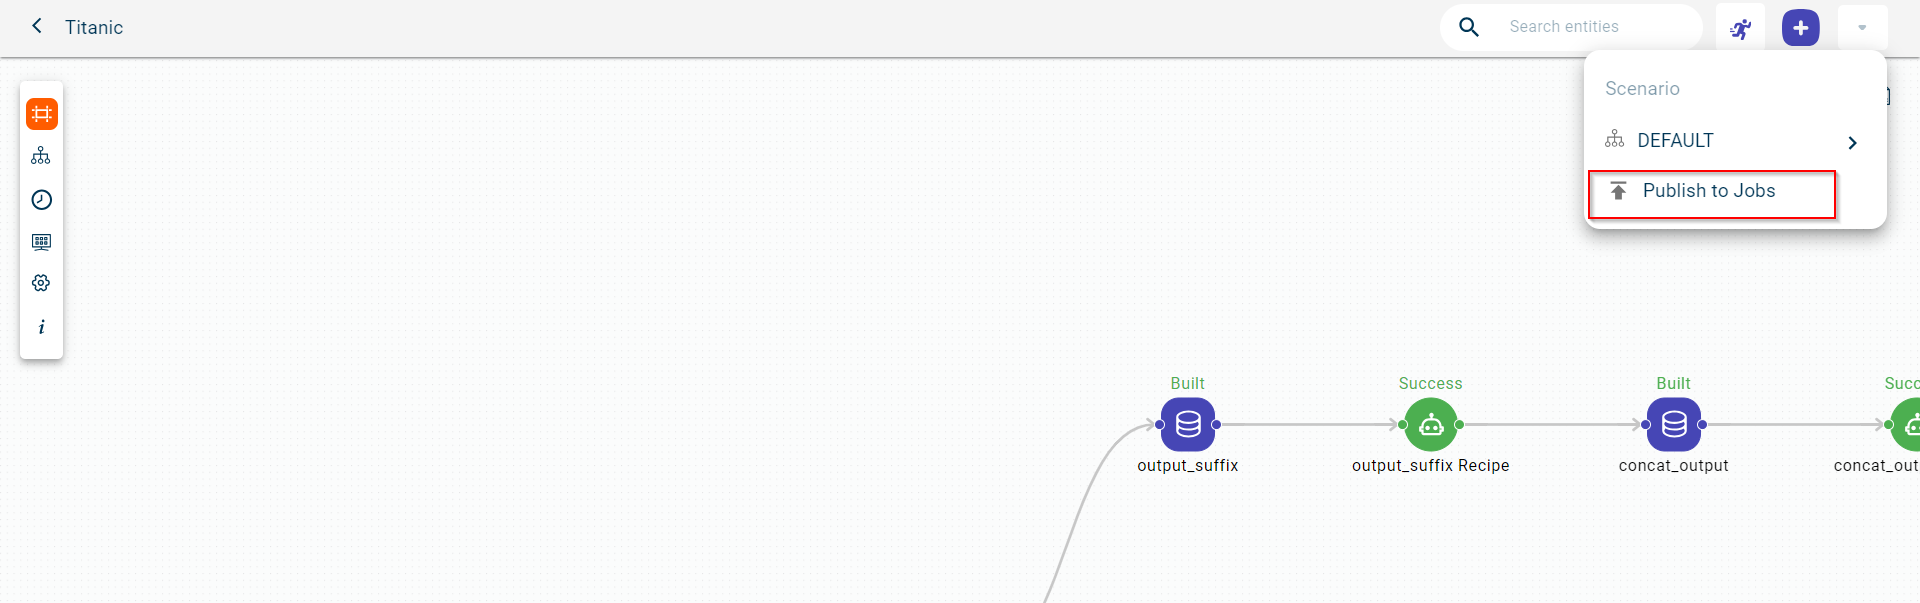
This displays the list of schedulers to which you want to publish the latest or updated data pipeline.
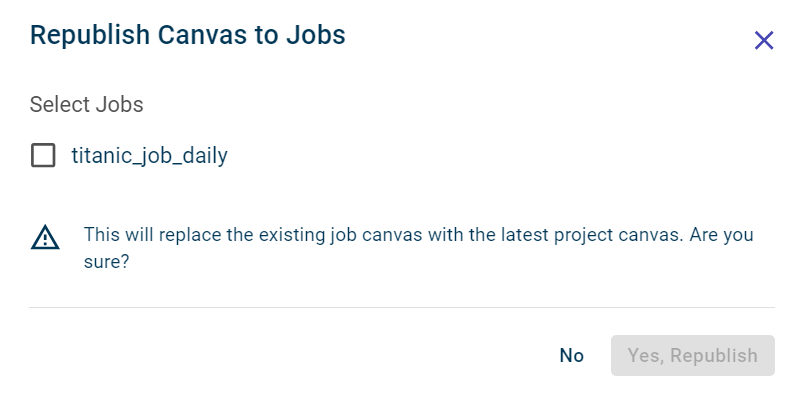
Select the check boxes corresponding to the jobs to which you want to update the latest canvas. This enables the Yes, Republish button.
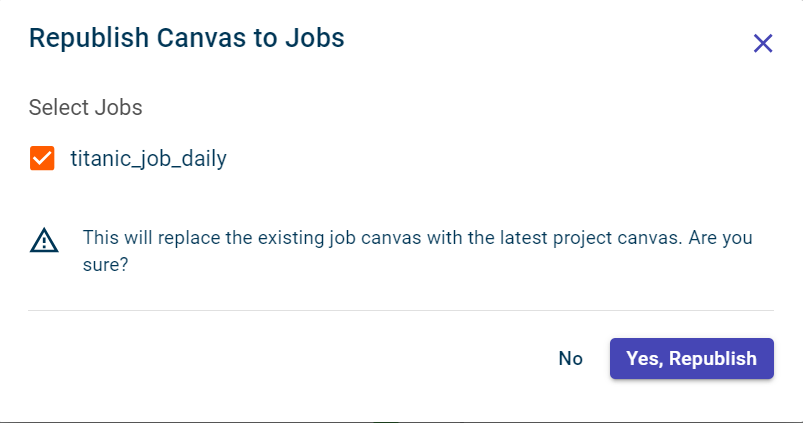
Click Yes, Republish to republish or update the latest data pipeline to the selected jobs.
You can now navigate to the respective job page to see the latest data pipeline. From the next schedule, the job run is performed on the new modeling pipeline.
Fetching the latest data pipeline to a specific scheduler
Use this procedure to fetch the changes made to the data pipeline on the canvas to the data pipeline in a specific scheduler.
To publish the changes made to the data pipeline on the canvas to a specific scheduler from scheduler page:
Select the project to navigate to the canvas view page.
Select Scheduler from the project level navigation. This takes you to the Schedulers page where you can view the list of schedulers created for this project.
Select the scheduler to which you want to publish the changes made to the data pipeline. This takes you to the selected scheduler page.
Click the Republish button in the canvas section to incorporate all the changes that were made to the canvas at the project level to this pipeline.
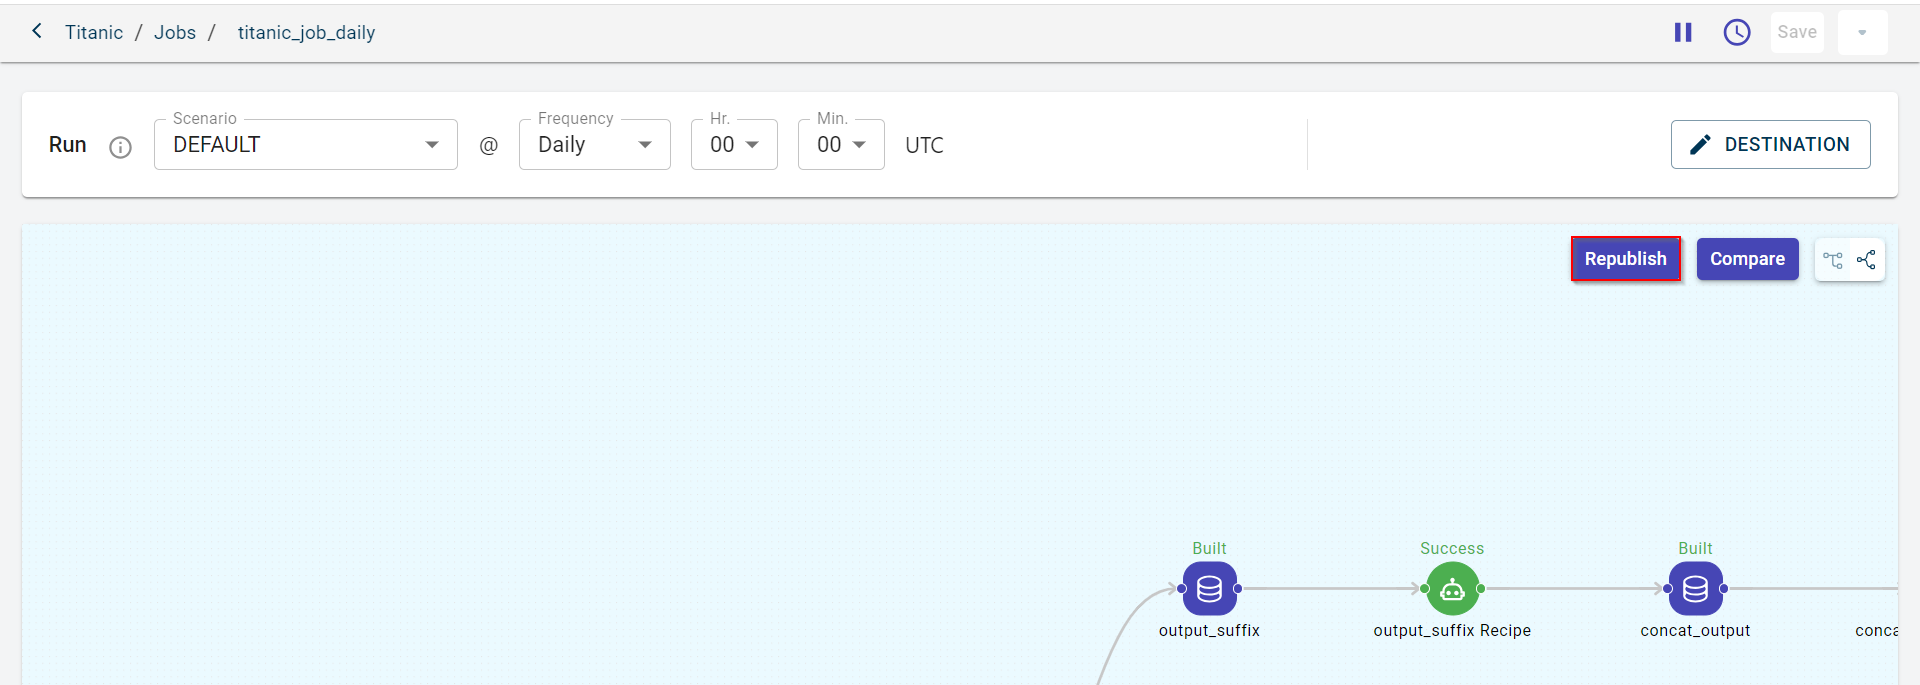
The Republish Canvas to scheduler window appears.
Click Yes, Republish to republish the project canvas to the scheduler.
Comparing the canvas of the scheduler with current canvas of the project
Use this procedure to compare current canvas of the project and canvas of the scheduler side-by-side to track changes.
To compare the canvas of the scheduler with the current canvas of the project:
1.Select the project to navigate to the canvas view page.
Select Jobs from the project level navigation. This takes you to the schedulers page where you can view the list of schedulers created for this project.
Select the scheduler that you want to compare with the current canvas of the project. This opens the scheduler page.
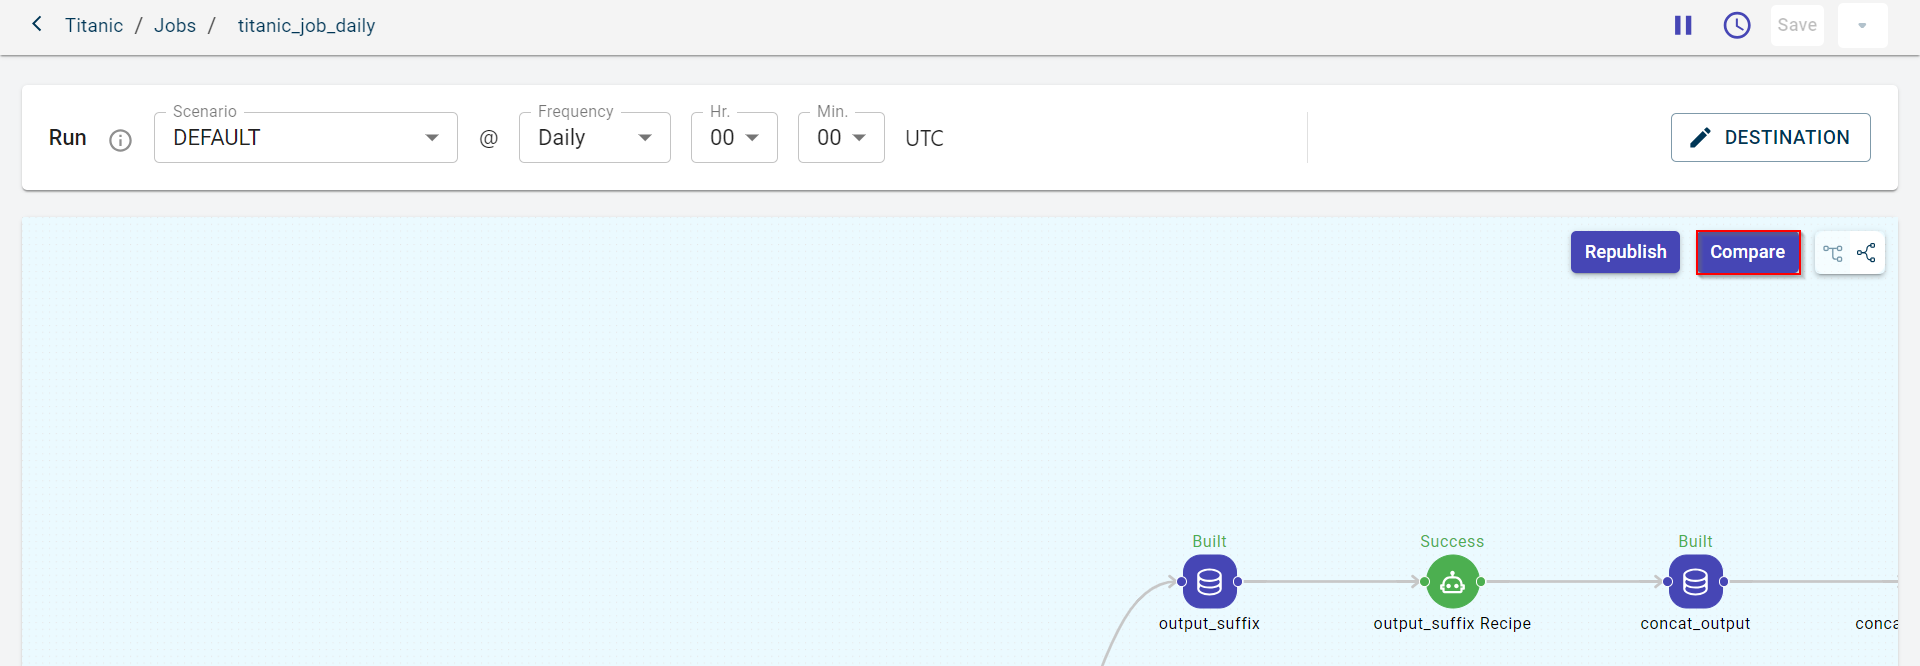
Click Compare to compare the canvas of this scheduler with the canvas of the project to notice the differences. You can see the difference between both the canvases side by side.
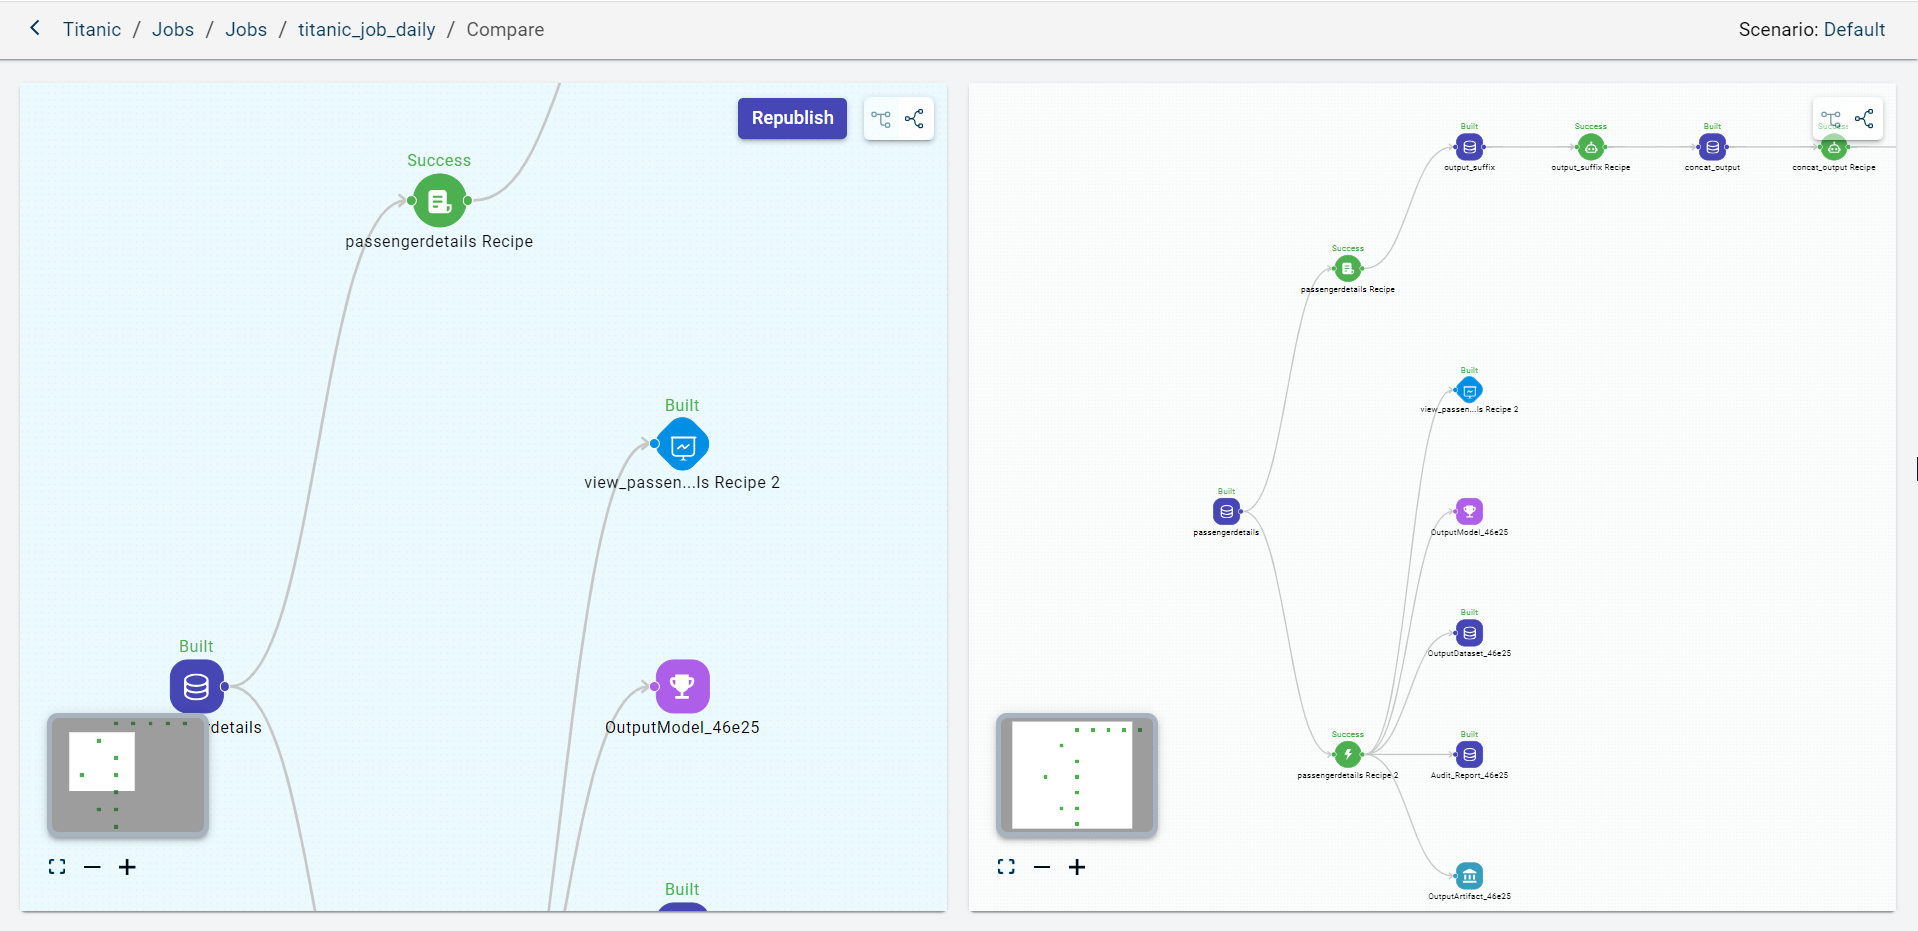
If you notice the canvas of the scheduler is not up-to-date, you can click Republish to fetch the latest canvas of the project to update the changes.